Flash, Forrest, flash!
Many starting photographers conclude there is not much light underwater and start flashing. Many using one flash, more luxury divers use two flashes to prevent shadows. Lazy photographers close the diaphragm and blast out a hell of flash light, having always sharp photos due to the large depth of field and not having to worry about white balance. This however, has some drawbacks:
- Flashing casts shadows
- Flashing illuminates dust between camera and object, if flashes direction is not set properly
- Many fish flash back by reflecting your flash
- Backgrounds become dark, making the image flat
Flashing casts shadows
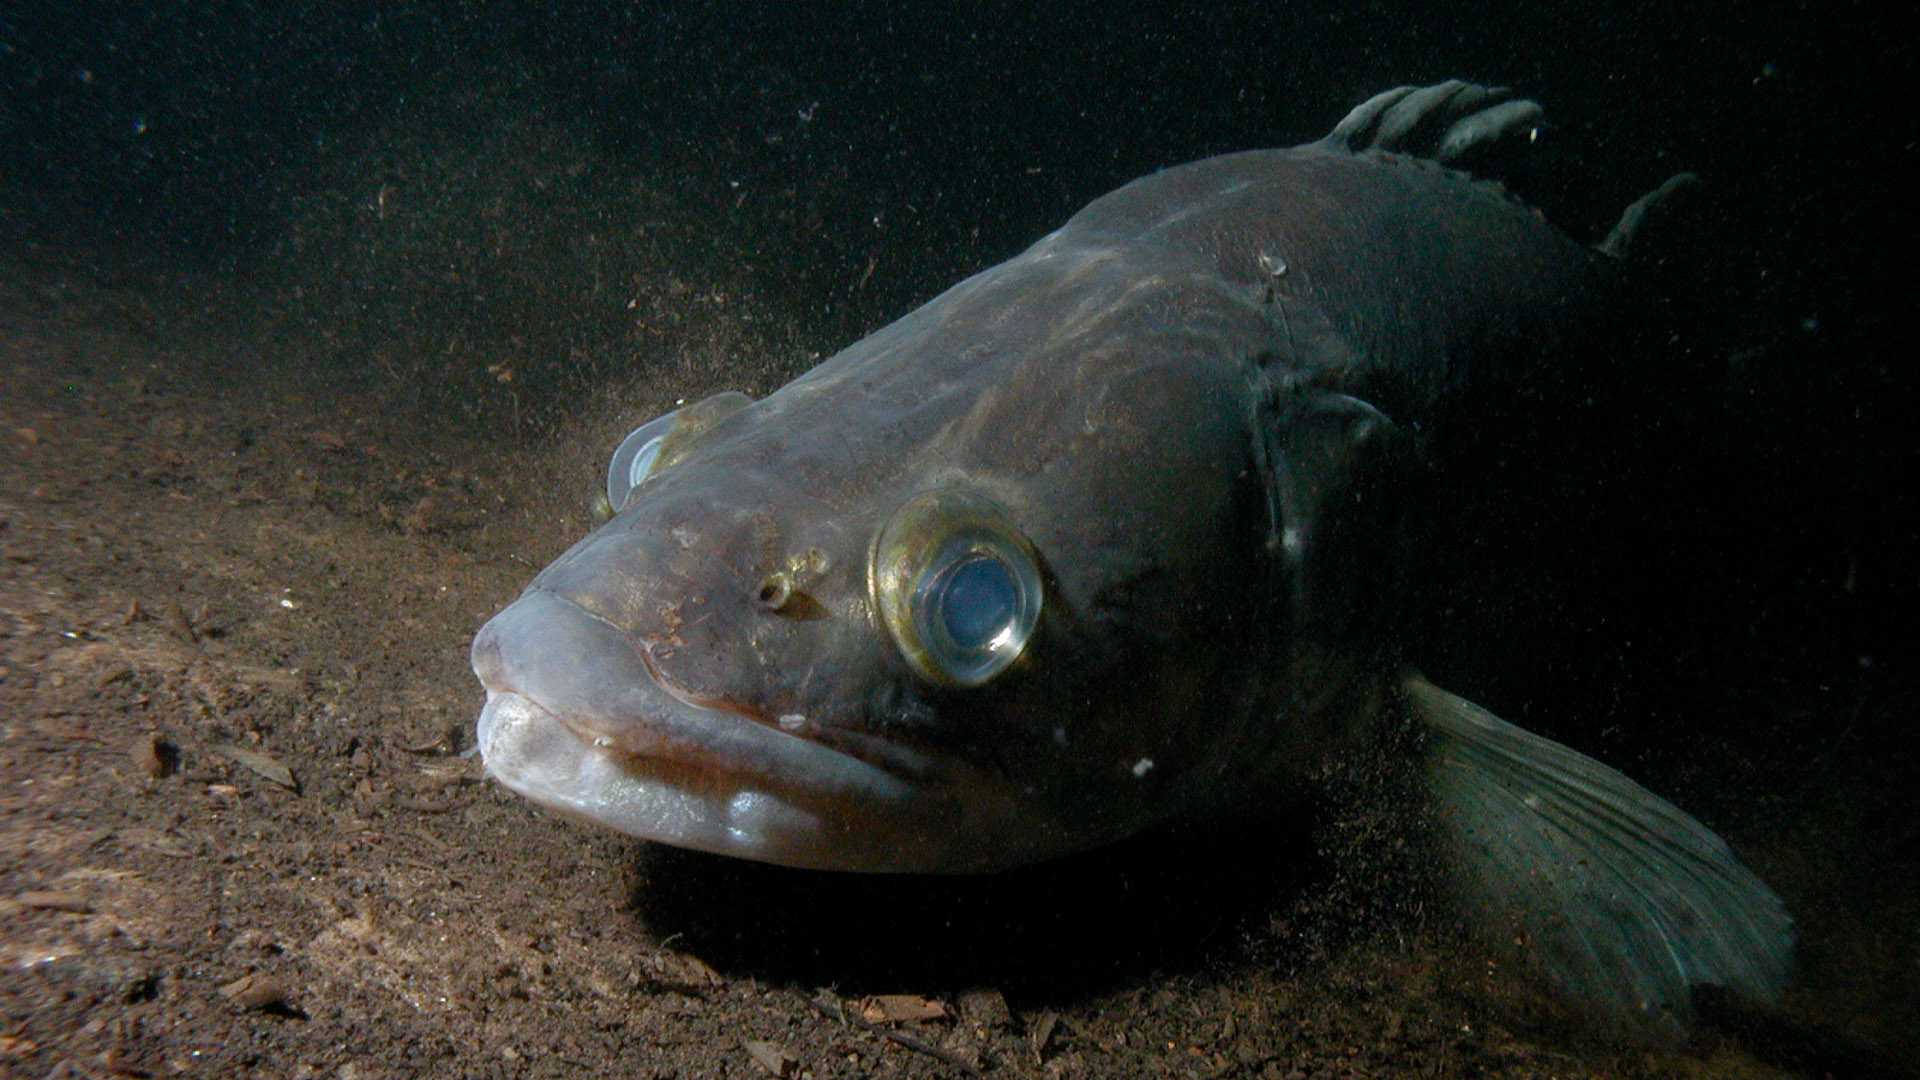
Backgrounds appear dark
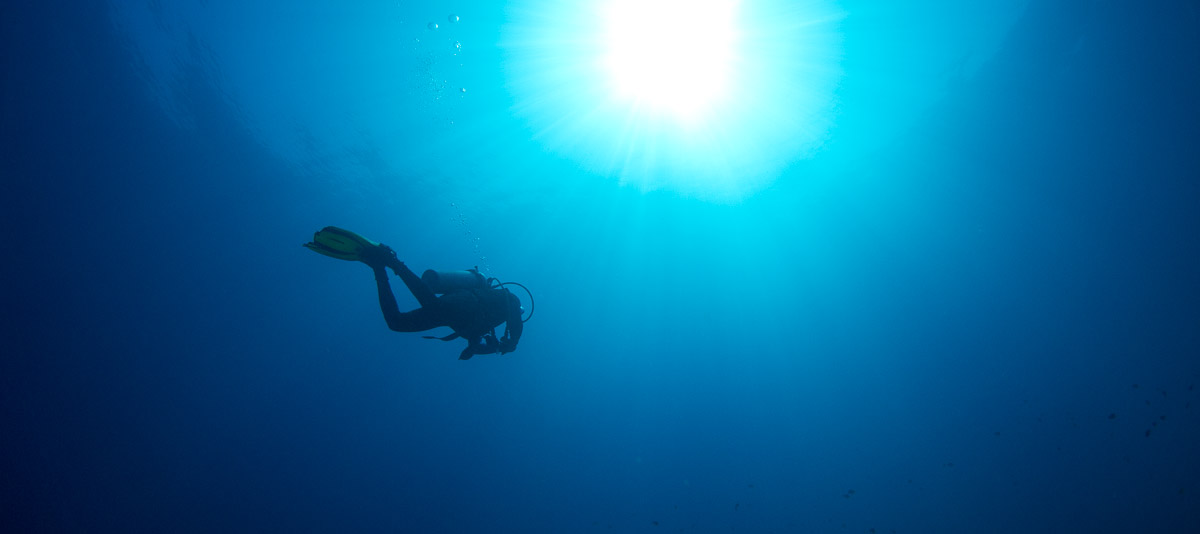
Light comes natural
Photographing using natural light has advantages, when done properly:
- Light underwater is diffused by the water, even in sunny conditions giving nice and smooth illuminated objects
- You can use the color of the water to get the real underwater experience
- Dust becomes less annoying
- You capture much more of the environment, since everything is illuminated, not just your subject
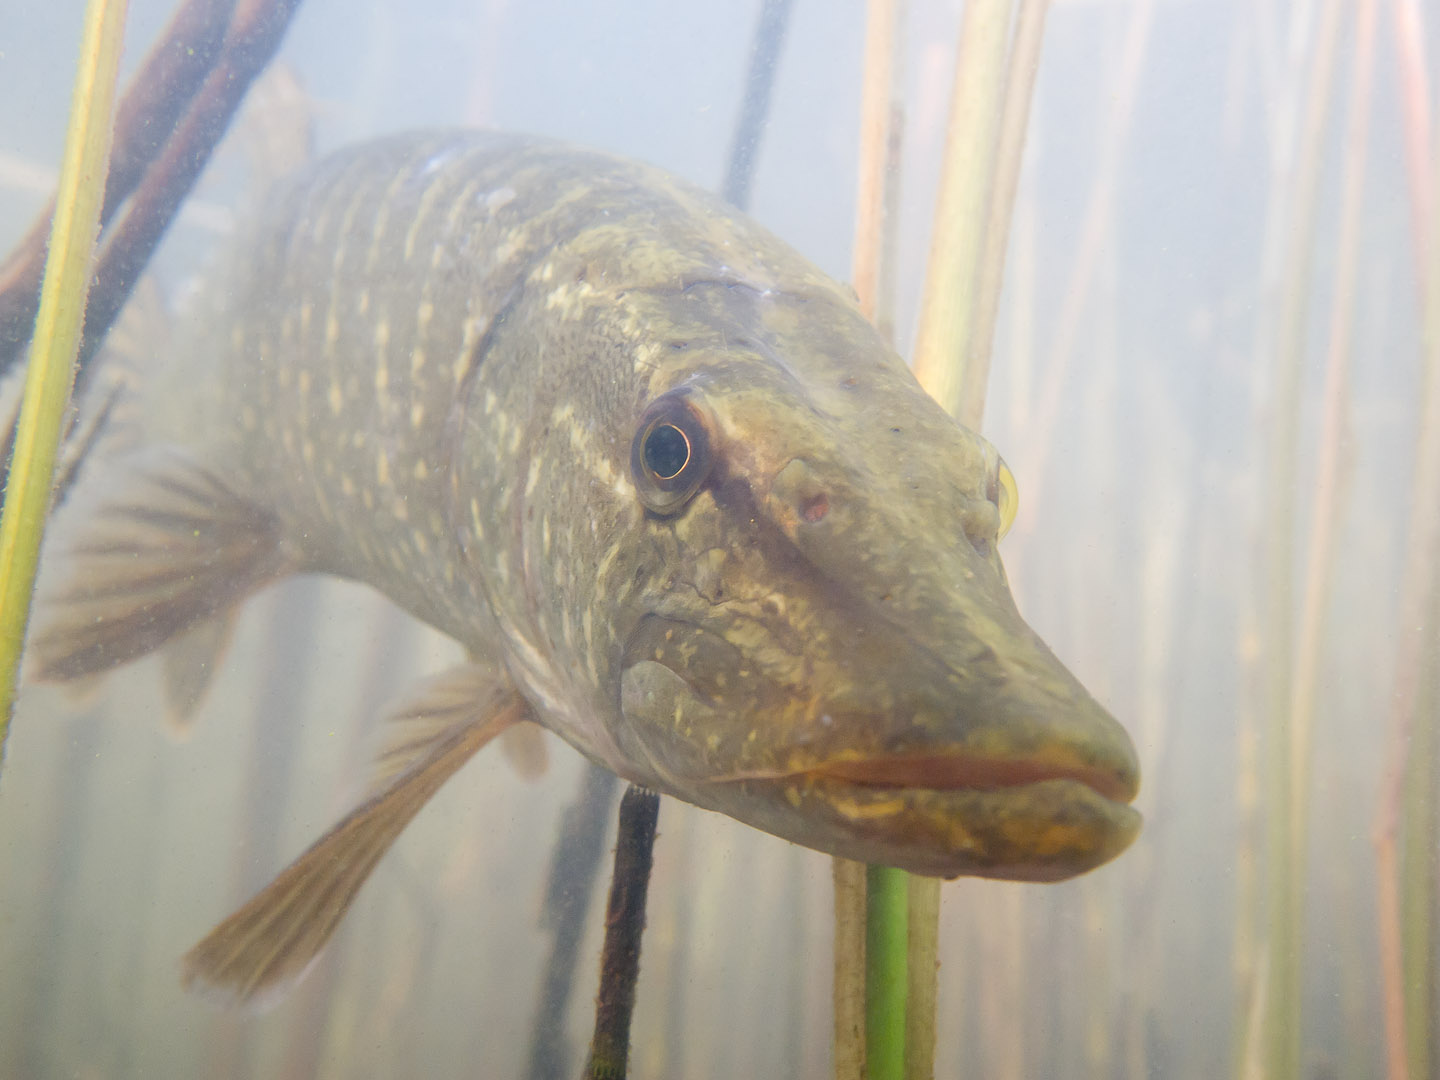
Naturally illuminated pike
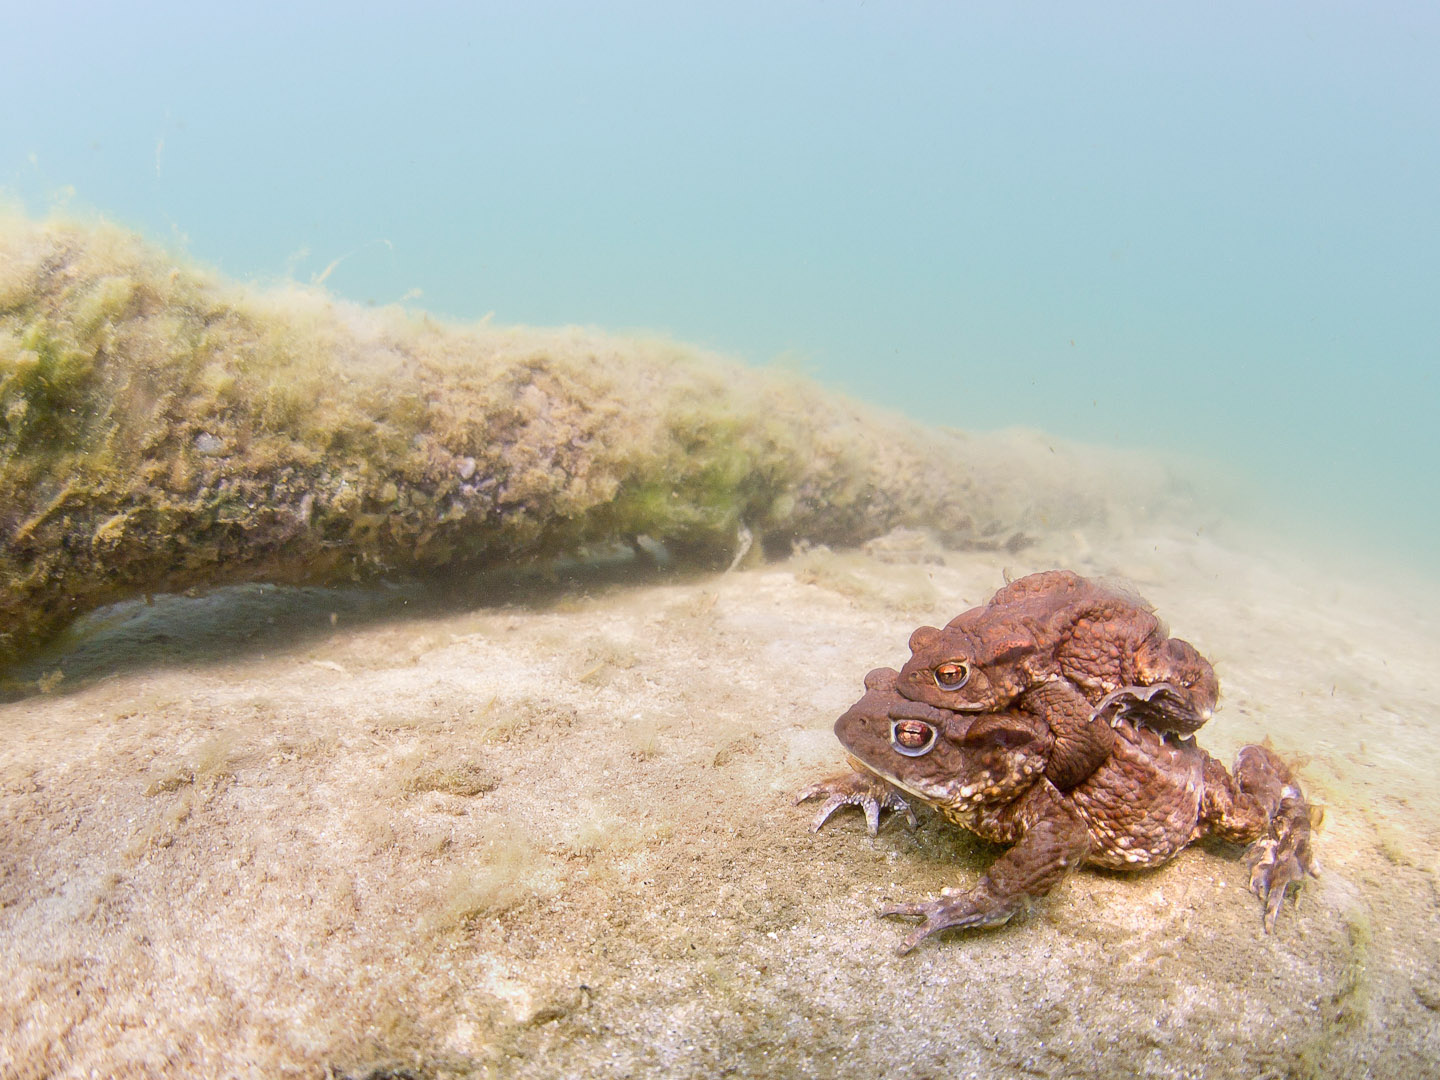
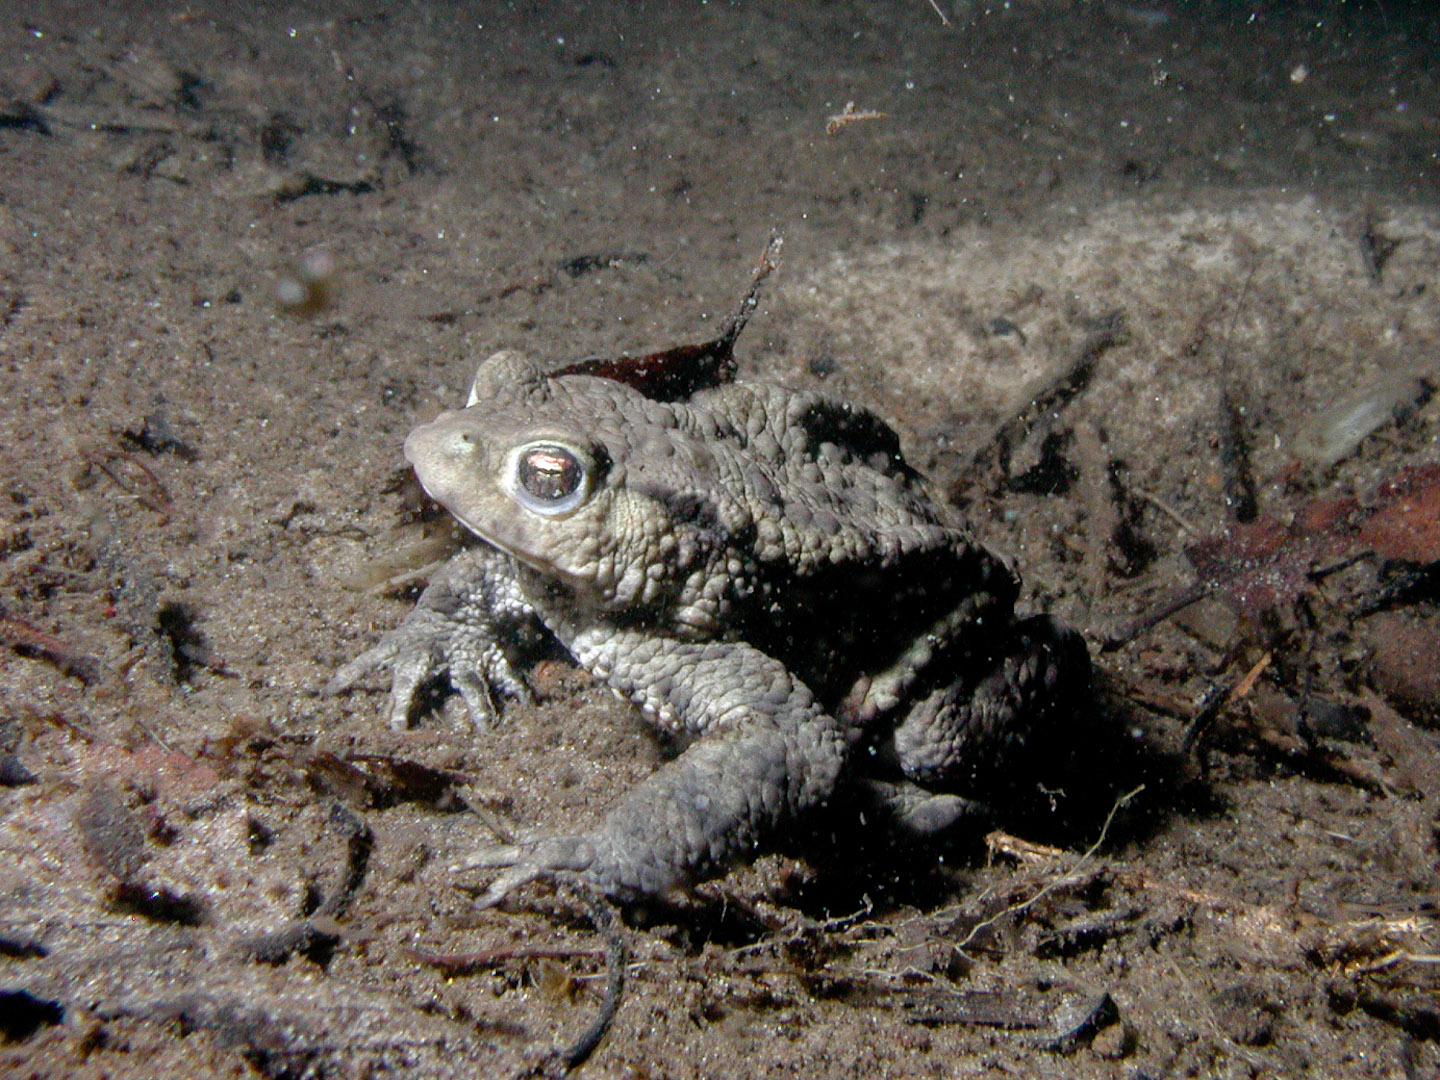
Toads during mating season
However, to apply properly, you have to know a few things
Less light
Underwater there is less light. This requires higher ISO values and longer exposure times. Fortunately, modern cameras come with higher ISO values. Furthermore, my experience is water dampens the camera movement, allowing for longer exposures. The most important secret: stay shallow. At shallow depth there is more light and less need for white-balance correction.
Blue and green
Water absorbs light, especially the lower wavelengths (red). That is the reason why water looks blue (sea) or green or even yellow (lakes). The deeper you get, the more extreme is the color. As a diver our eyes get adjusted ‘automatically’. Though cameras have automatic white-balancing, underwater situations are so extreme, cameras cannot cope with it. Therefore, use manual white-balancing. Take with you a white target (I myself use a white plastic bag attached to my stab-jacket) and prior to taking pictures adjust the white-balancing using your target. Below you find and extreme example taken in the Dutch province in Zeeland at a depth of 11 m. Often I find the manual white-balancing of my camera failing when I go to deep. Take RAW format photos so you can adjust white-balance afterwards.
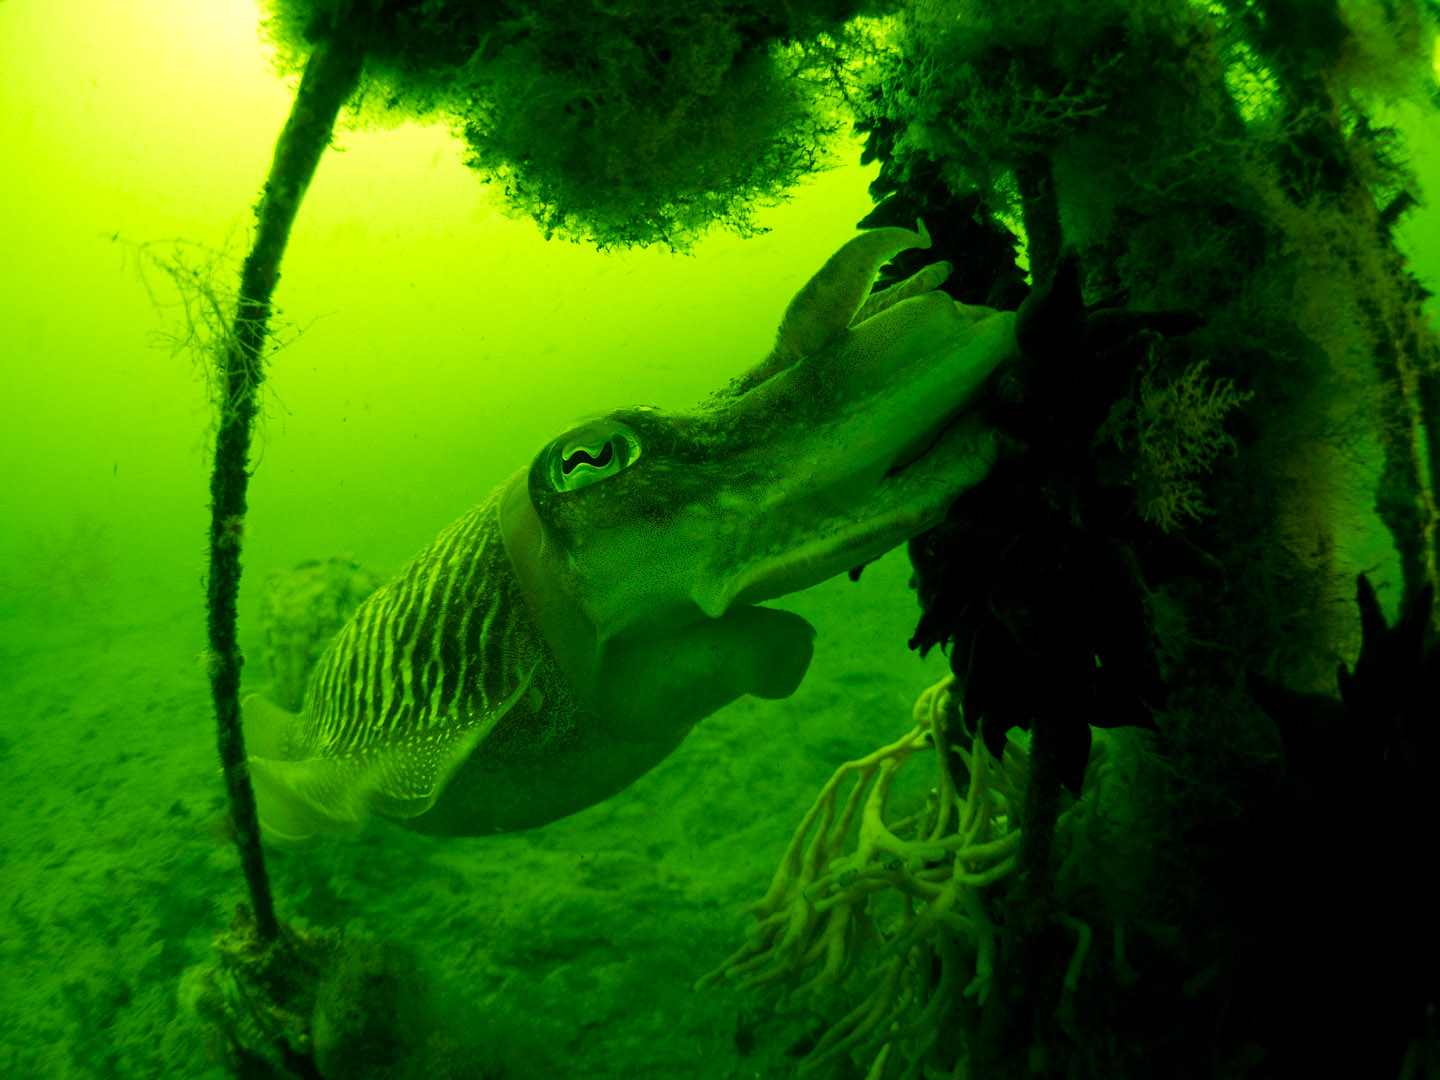
Daylight white-balance
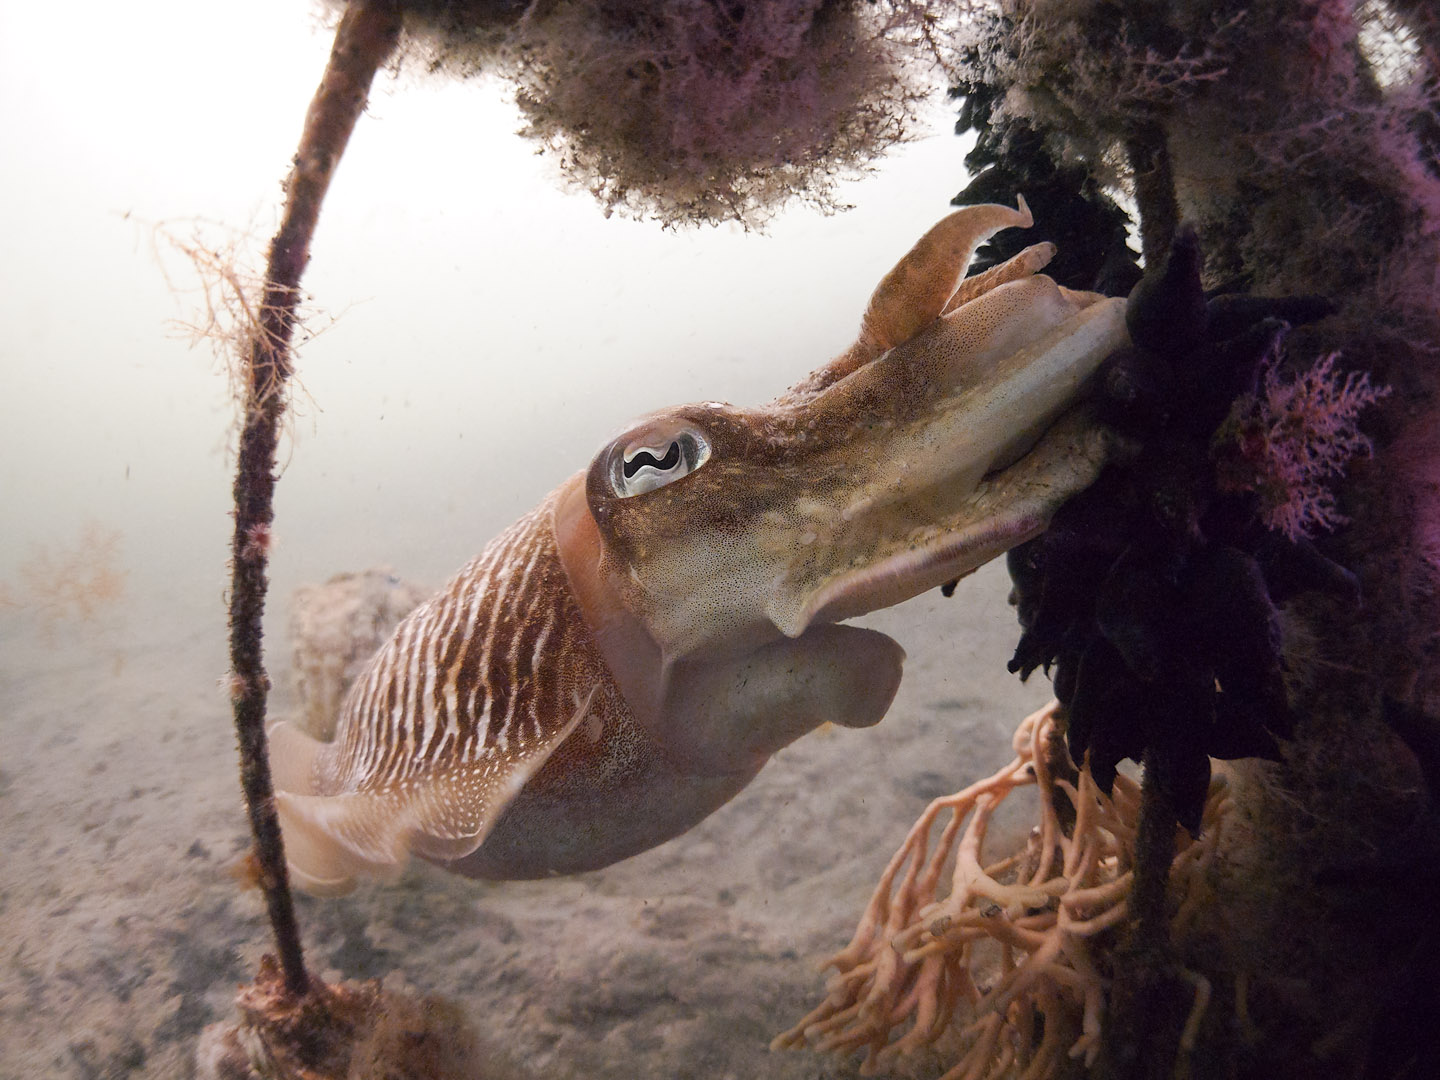
Corrected white-balance
I use Adobe Lightroom to adjust my photos. Wonderful program. However, I found that such extremely manually white-balanced photos don’t look good in Lightroom (I use an Olympus Pen 1 camera). Apparently even Lightroom cannot cope with such extreme white-balancing. The remedy is to use the Olympus tool and export the manually white-balanced photos to DNG format and import these DNGs in Lightroom.
White-balance close and far
When manually white-balancing, you white-balance on your object close by. Objects near and far are equally illuminated from above. However, the light from near objects travels less far through the water than light from far objects. As we know, light traveling through water changes color, because red light is absorbed. The effect of a few meters of water is already noticable. Therefore objects (and water) far away might appear blue or green, even if your object is ‘naturally’ colored due to your manual white-balancing. Imho this contributes to the underwater experience when watching the photo. This effect is visible in the photograph of the toads above.
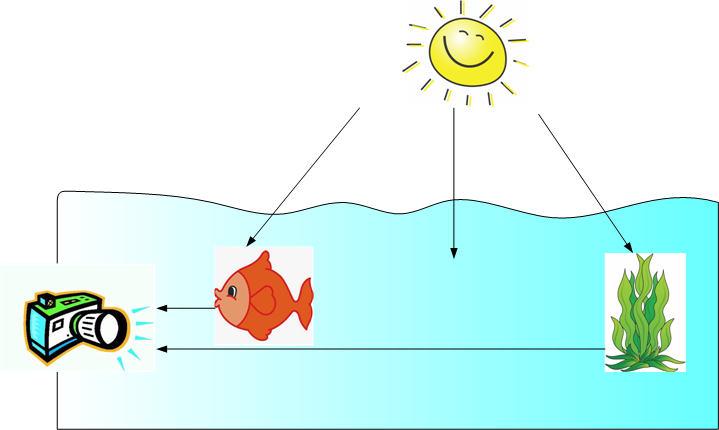
Background far away appears blue or green, even if the object close by is well white-balanced