
ISO200, 12mm, F/5.0, this photo has an effective exposure time of 90 minutes
The trick is not to expose one image very long, but to combine multiple photos into one image. The image above consists of 9 photos that were exposed for 10 minutes each (1.5 hour total).
The necessary tool
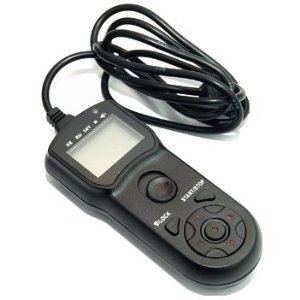
What is required to take the photos is a tripod and a exposure timer. An exposure timer can expose a number of photos for a given time at short interval (1 second in between).
A power supply is required if real long exposures are required. I tested it with my Nikon D300S how far I could get on a fully charged battery: it gave me 21.5 frames of each 10 minutes (215 minutes or 3.5 hour). I got the JJC TM-G. It is quirky (you should not program exact minutes, but add one second, otherwise the second photo exposure goes berzerk), but I’ll manage.
Camera settings
A wide angle lens is required to capture a respectable part of the nightly sky. 12 mm on a APC-C sensor DSLR will do. F/4 or F/5 at ISO200 will provide sufficient starlight. The exposure time should be chosen such that the background objects are illuminated well (by the moon or some other light source). The exposure time will not affect the strength with which the stars are shown, since they move. A longer exposure results in a longer trail, but not in a brighter trail.
Start a while after sunset, when there is still some light in the sky (red at western horizon, blue in the rest). The sky goes from light to fully dark.
Program the exposure timer, so that it takes a large number of images at given exposure time, with as short as possible interval in between. My timer allows for minimum 1 second in between. When long intervals are chosen in between, we end up with star trails with little gaps in it.
Choosing the scene
The best effect is to point the camera to the north (northern hemisphere) or to the south (southern hemisphere). This makes the trails look more circular.
Put the camera on the tripod, place it firmly on the ground, choose the scene, connect the exposure timer and start it. Now it is up to patience…. Don’t touch or even look at the tripod, since the camera may absolutely not move a micrometer. You need a lot of it. After your battery runs empty or you get bored, you go home with a number of photos, each showing the scene, each showing part of the star trails. You might choose to expose a photo for with the lens cover on the lens, for noise cancelation, though I never used it.
Post processing
We use Photoshop for what is called ‘stacking’ the photos. In this process we will combine all exposures into one photo. We do this in such a way that in the end result each pixel is is shown
I start of with post processing the photos in Lightroom. Post process the 1st exposure (the one right after sunset), so it looks ok. Â Synchronize the settings to the rest of the exposures. I use to export the photos to JPG for further processing in Photoshop.
Kick Photoshop into life.
Choose File -> Scripts -> Load into stack. A pop-up opens
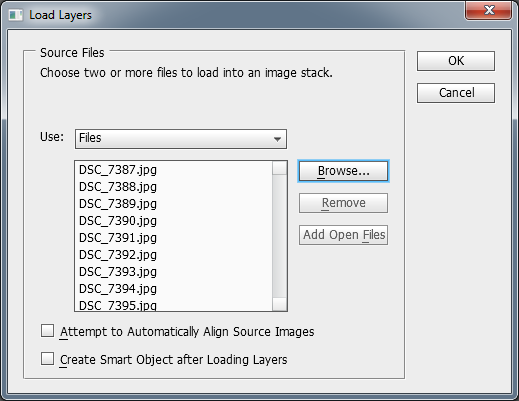
Select the images to stack and press OK. Sit back a while, while Photoshop load all the images in separate layers. It is shown in the LAYERS section.
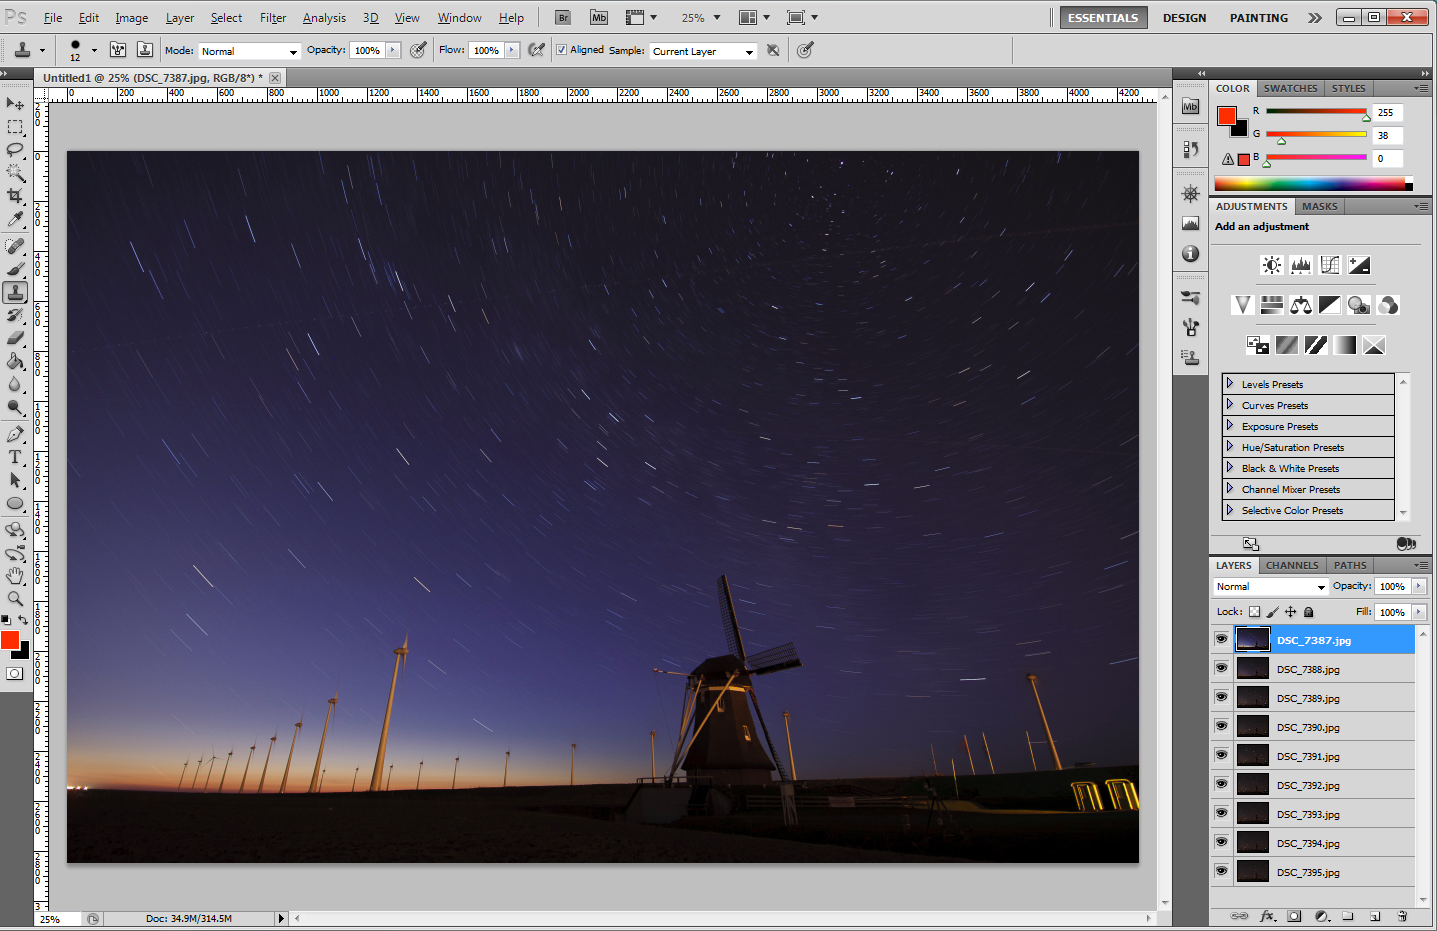
Select all the image layers.
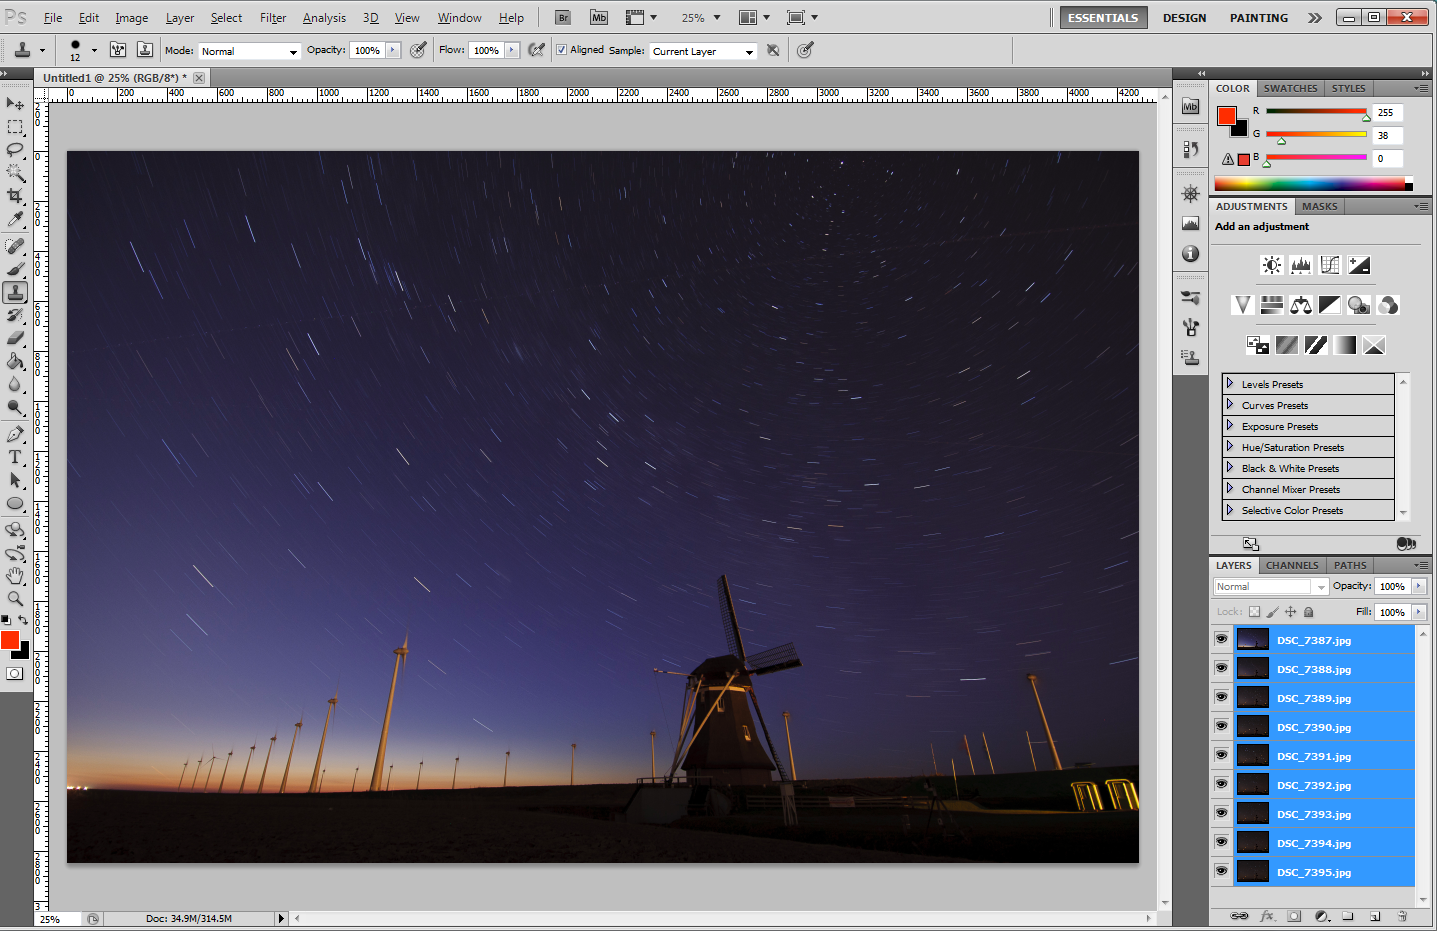
Choose Layer -> Smart Object -> Convert to Smart object. We now end up with just one smart object containing all the layers. (note: if this feature is disabled, you’ve got the non-extended version of Photoshop).

Now select Layers -> Smart Object -> Stack Mode -> Maximum. Now the magic happens: all the star trails appear.
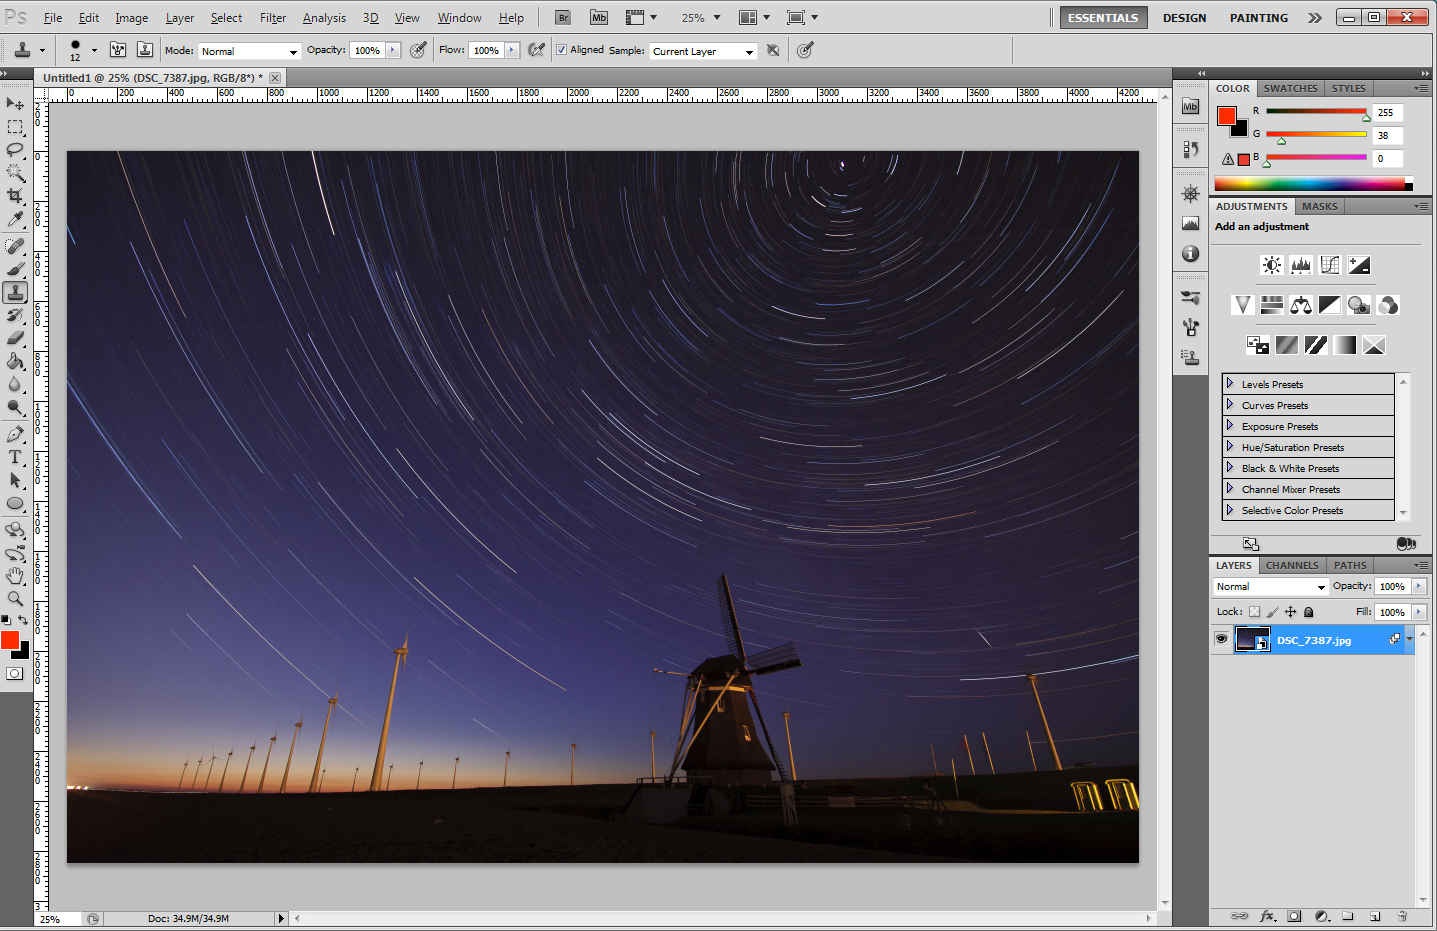
What has happened is that for each pixel in the end result the maximum from ‘underlying’ images is chosen. If you started after sunset, the 1st photo in the stack is the brightest. So this one will show up, with only the stars from subsequent exposures.
Finally, save the image as JPG. I am used to re-importing it in Lightroom for the final touch (like cropping).
Another example

12mm, ISO200, F/5.6, 603 s, 10 exposures (=100 min)
On this one I was so bored waiting, so I decided to stand very still between the trees for one exposure of 10 minutes. With some masking in Photoshop, I managed to get it on the end result.

Finally, this is the longest exposure on 1 battery load.