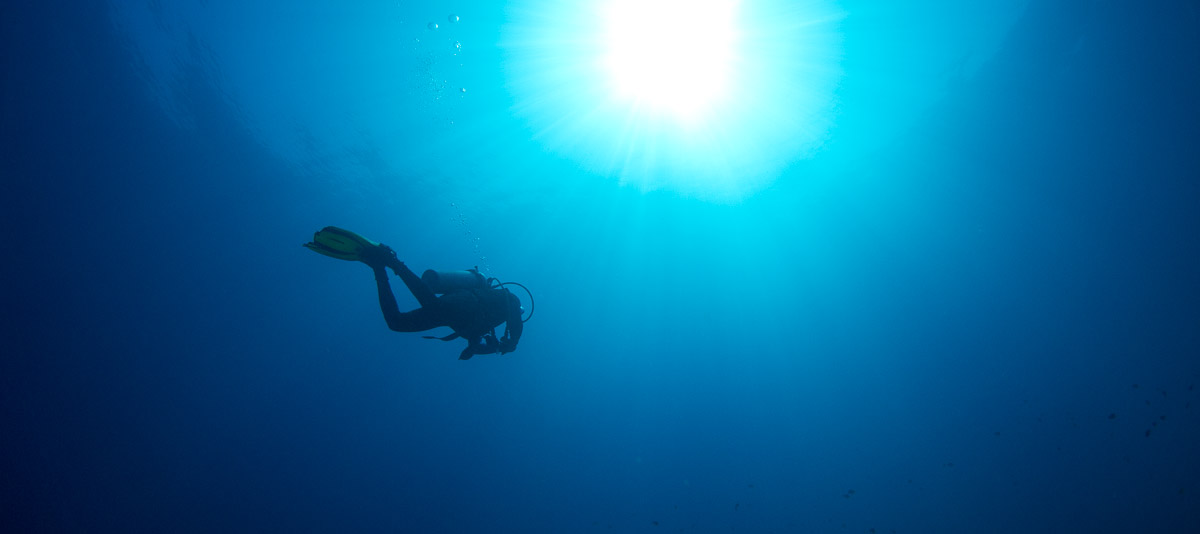
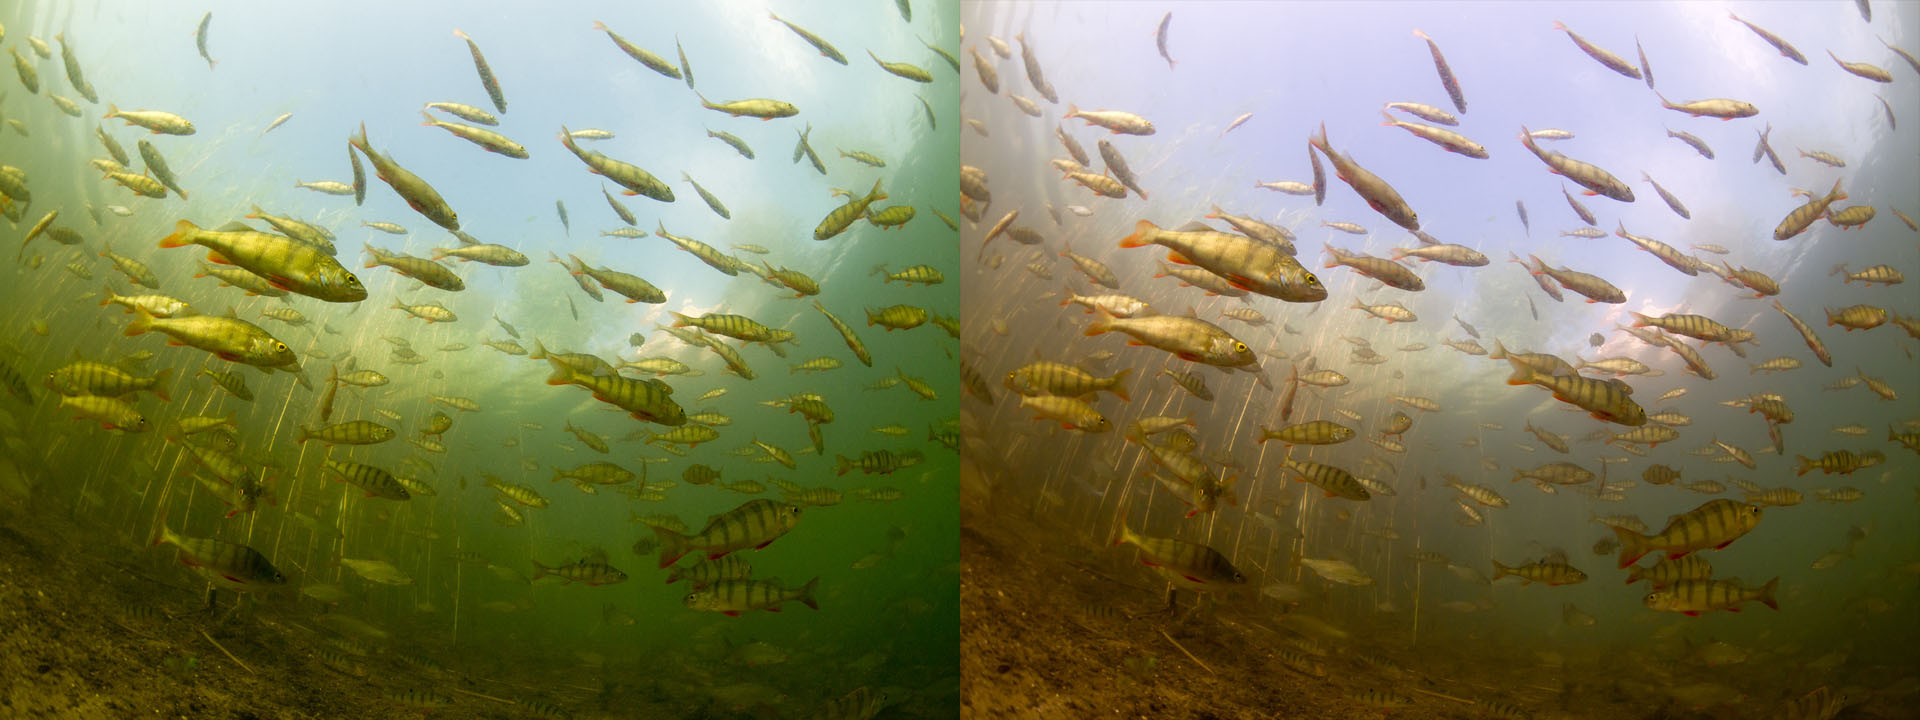
A well known phenomenon to divers is the fact that water absorbs light, the red component in the light the most. This makes water appear blue or greenish. The deeper we get, the stronger the effect: it gets darker and it gets more blue. Diver eyes cope with it, cameras do not, as can be seen from the left picture. Therefore we need correcting the whitebalance, so we end up with something presentable.
Roughly there are two moments you can correct the white balance:
- Correcting the whitebalance when taking the photo
- Correcting the whitebalance when post processing
While taking the photo
First method: leave it all up to the camera
Put the camera on automatic white balance and hope for the best. This only succeeds in a few situations: First is when you use flash only to illuminate the scene. Flash is nice white light resolving the problem. Especially when the camera knows it is flashing, it adjusts the whitebalance to flash. Second is when you have a specialized underwater camera. Third if you are not deeper than 50 cm. In all other cases this is bound to fail.
Second method: manually correcting the whitebalance
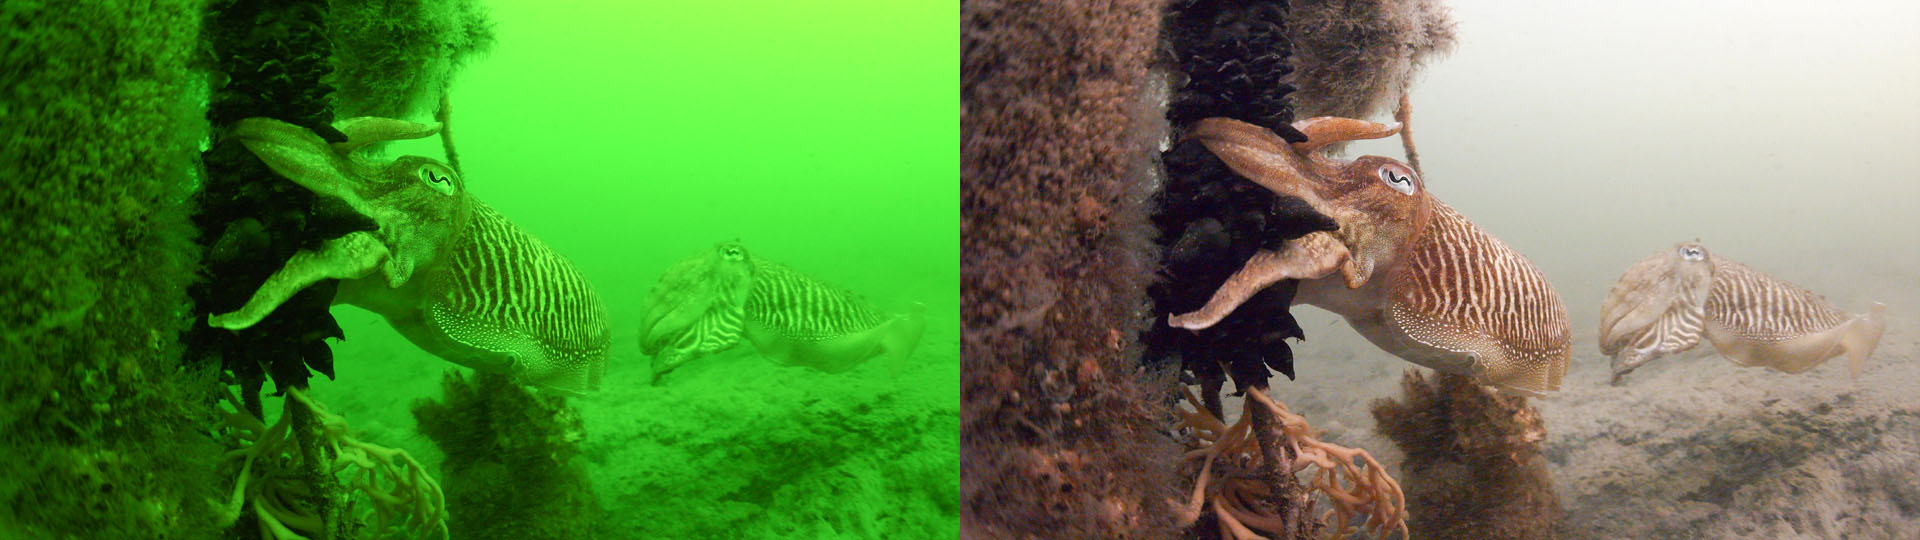
If we cannot leave it up to the camera, we have to do it ourselves. We have to teach the camera what is white. How can you do that? By bringing something white. I used to dive with a white plastic bag attached to my stab jacket. Most cameras provide the feature of manual whitebalance correction. Choose the option and put the white reference in front of the camera. In theory this would give the most accurate result.
In fact this method was used in the image shown above, right hand side. This picture is the most extreme white balance correction I ever did this way. The picture was taken at 11 m depth in Zeeland (Oosterschelde). If we would have set the white balance to ‘daylight’ we would have ended up with the picture on the left hand side.
Some remarks. First of all, each depth needs its own correction. This means that if you change depth a few meter you have to re-calibrate. Second, this method has its (depth) limits. If you are to deep, the camera doesn’t understand and won’t accept it. At least, my Oly PEN-1 doesn’t. In fact I still wonder why my camera did it so well in the the above example…
While post processing
This is the lazy-underwater-photographers’ way. In fact I only use these methods nowadays.
First method: object as reference
We use the white balance selector, usually depicted as a pipette. You point this tool to something in the picture that you know its white. In this case we choose someting on the object or in its close vicinity. In the picture below we used the belly of the turtle. A classic point to look for is the eye white if people are on the photo.
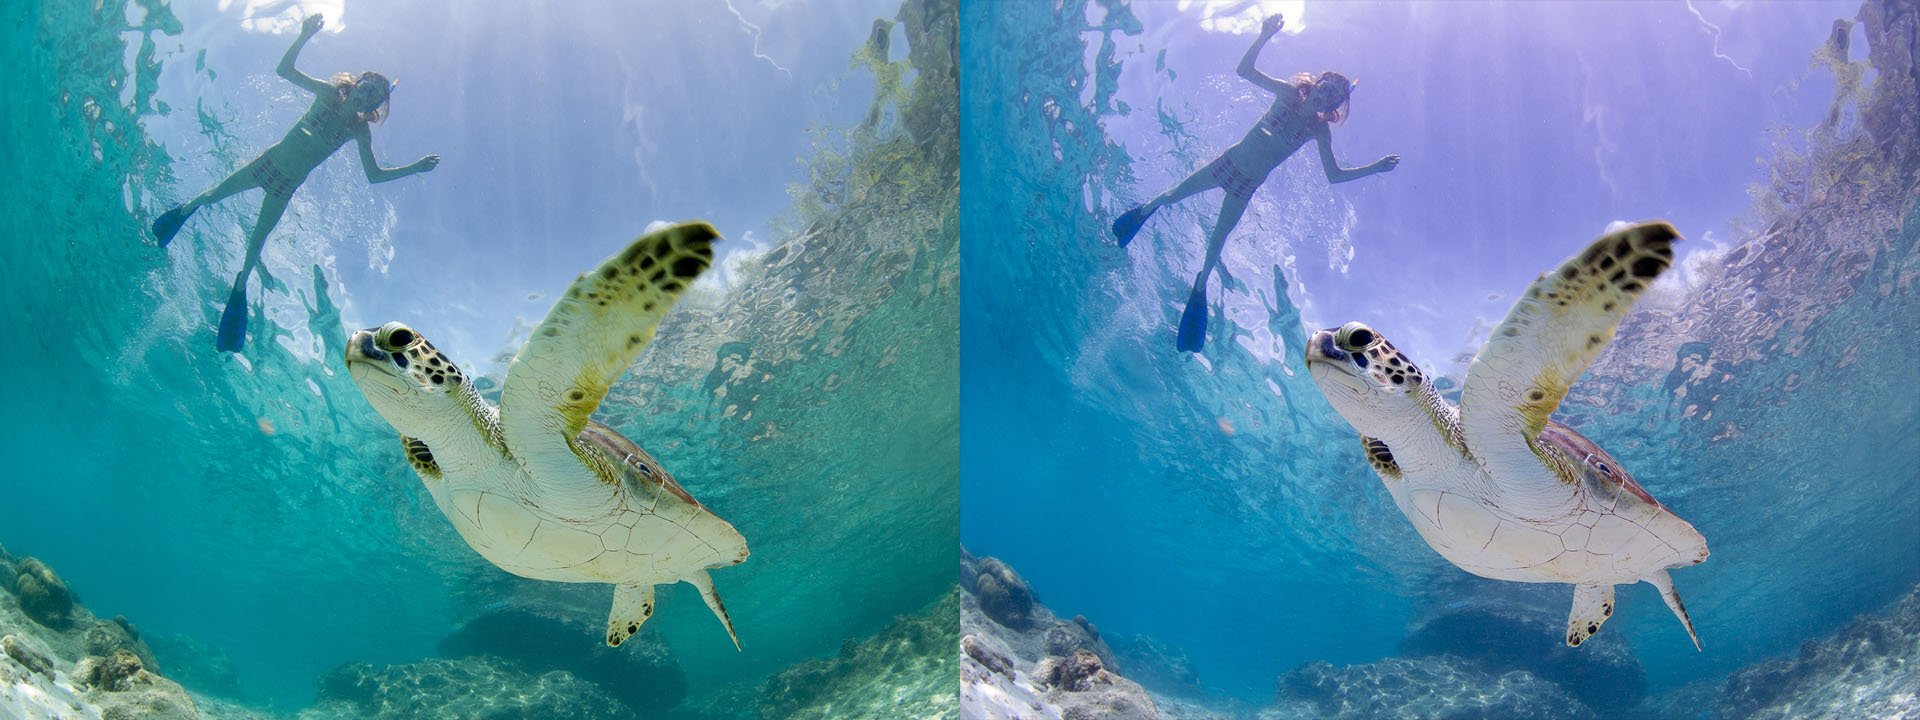
The result that the colors of the object, the turtle, look right, whereas the surrounding, the girl in the background, still has the color of water. The latter contributes to the underwater ambiance.
Second method: surrounding as reference
A second method uses the same method, however now we pick a spot in the background. The result is that the water looks white, giving it a serene look. This basically works at not to large depth, otherwise the foreground may look reddish. In fact this method may be seen as ‘creative’ since the result deviates from realistic.
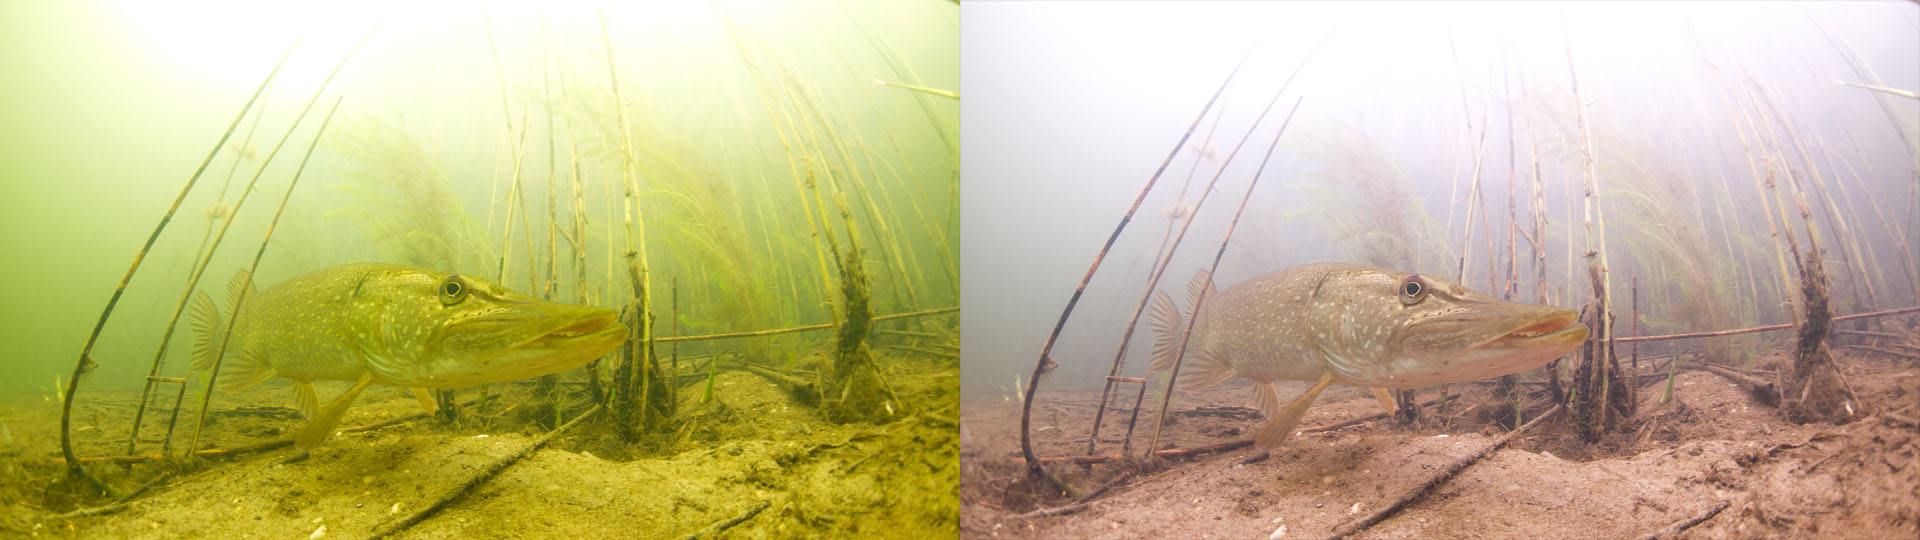
Third method: free format
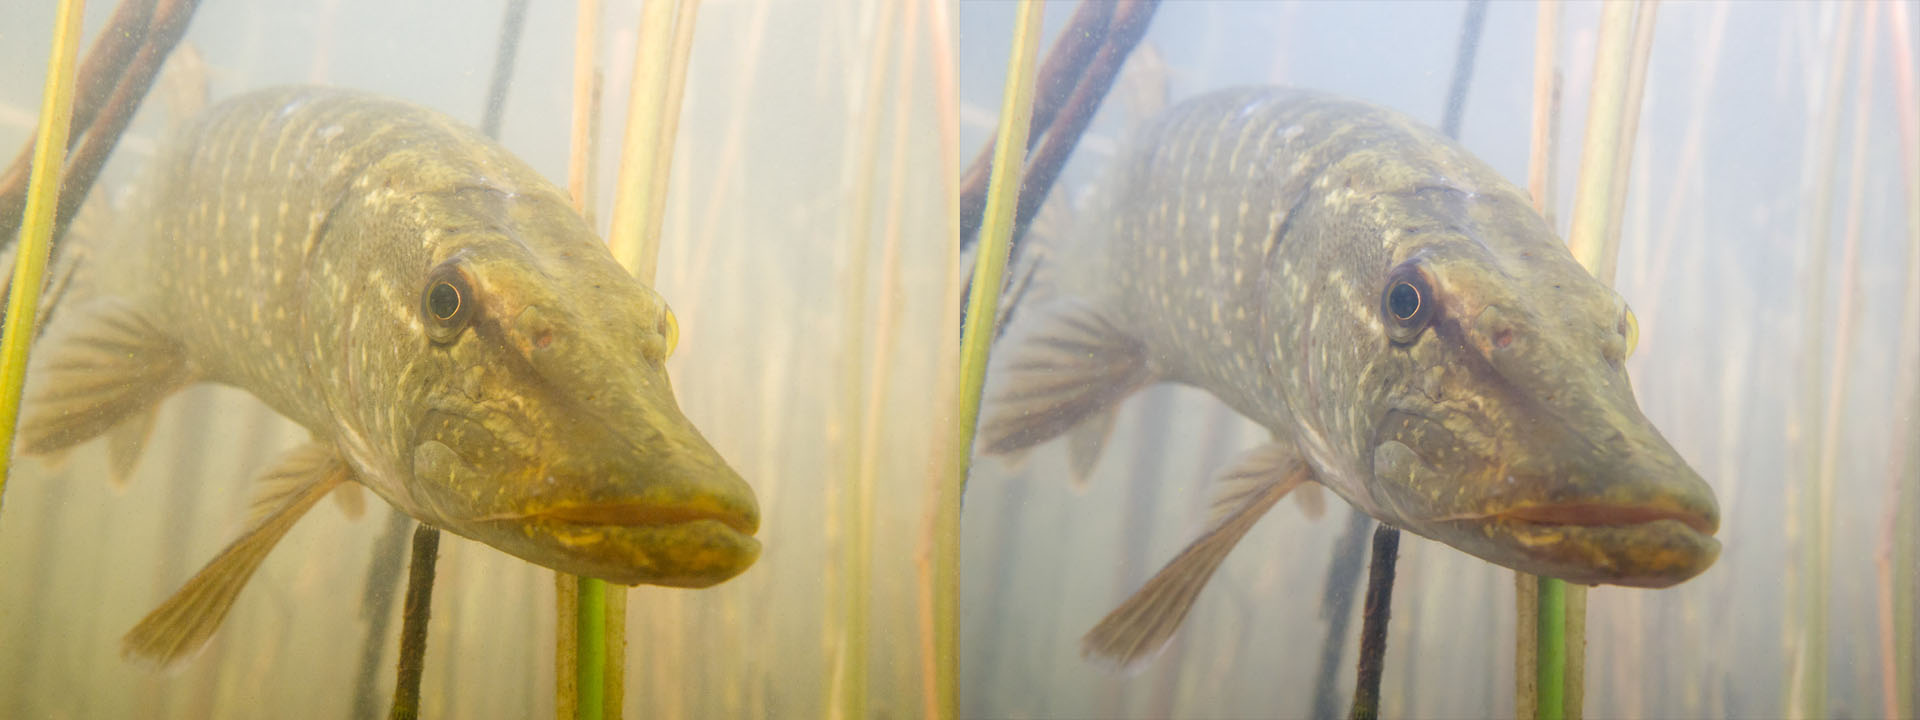
The third method is simply pulling the sliders ‘temperature’ and ‘tint’, until the result looks good. Next examples were processed in this way. The first one I could not get right any other way… Of course this is a very subjective method.
Adobe Lightroom to the extremes
I use Adobe Lightroom 3.6 with Adobe Camera Raw 6.6. Using Camera Raw Lightroom is able to reed the raw photo files from my Olympus PEN. Camera Raw reads the metadata from the raw file (.ORF file) and tries to apply the image processing from the camera, amongst others white balance correction. To my surprise Lightroom could not cope with the manually white balance corrections from the 1st image on this site. The next image shows this: to the left how the image looks in the Olympus Viewer, to the right how it looks in Lightroom. Apparently the white balance correction is to extreme for Adobe Lightroom.

I solved this by exporting the image on the left to .tif format from Olympus Viewer. Imported in Lightroom gave good results, ready for further post processing.